
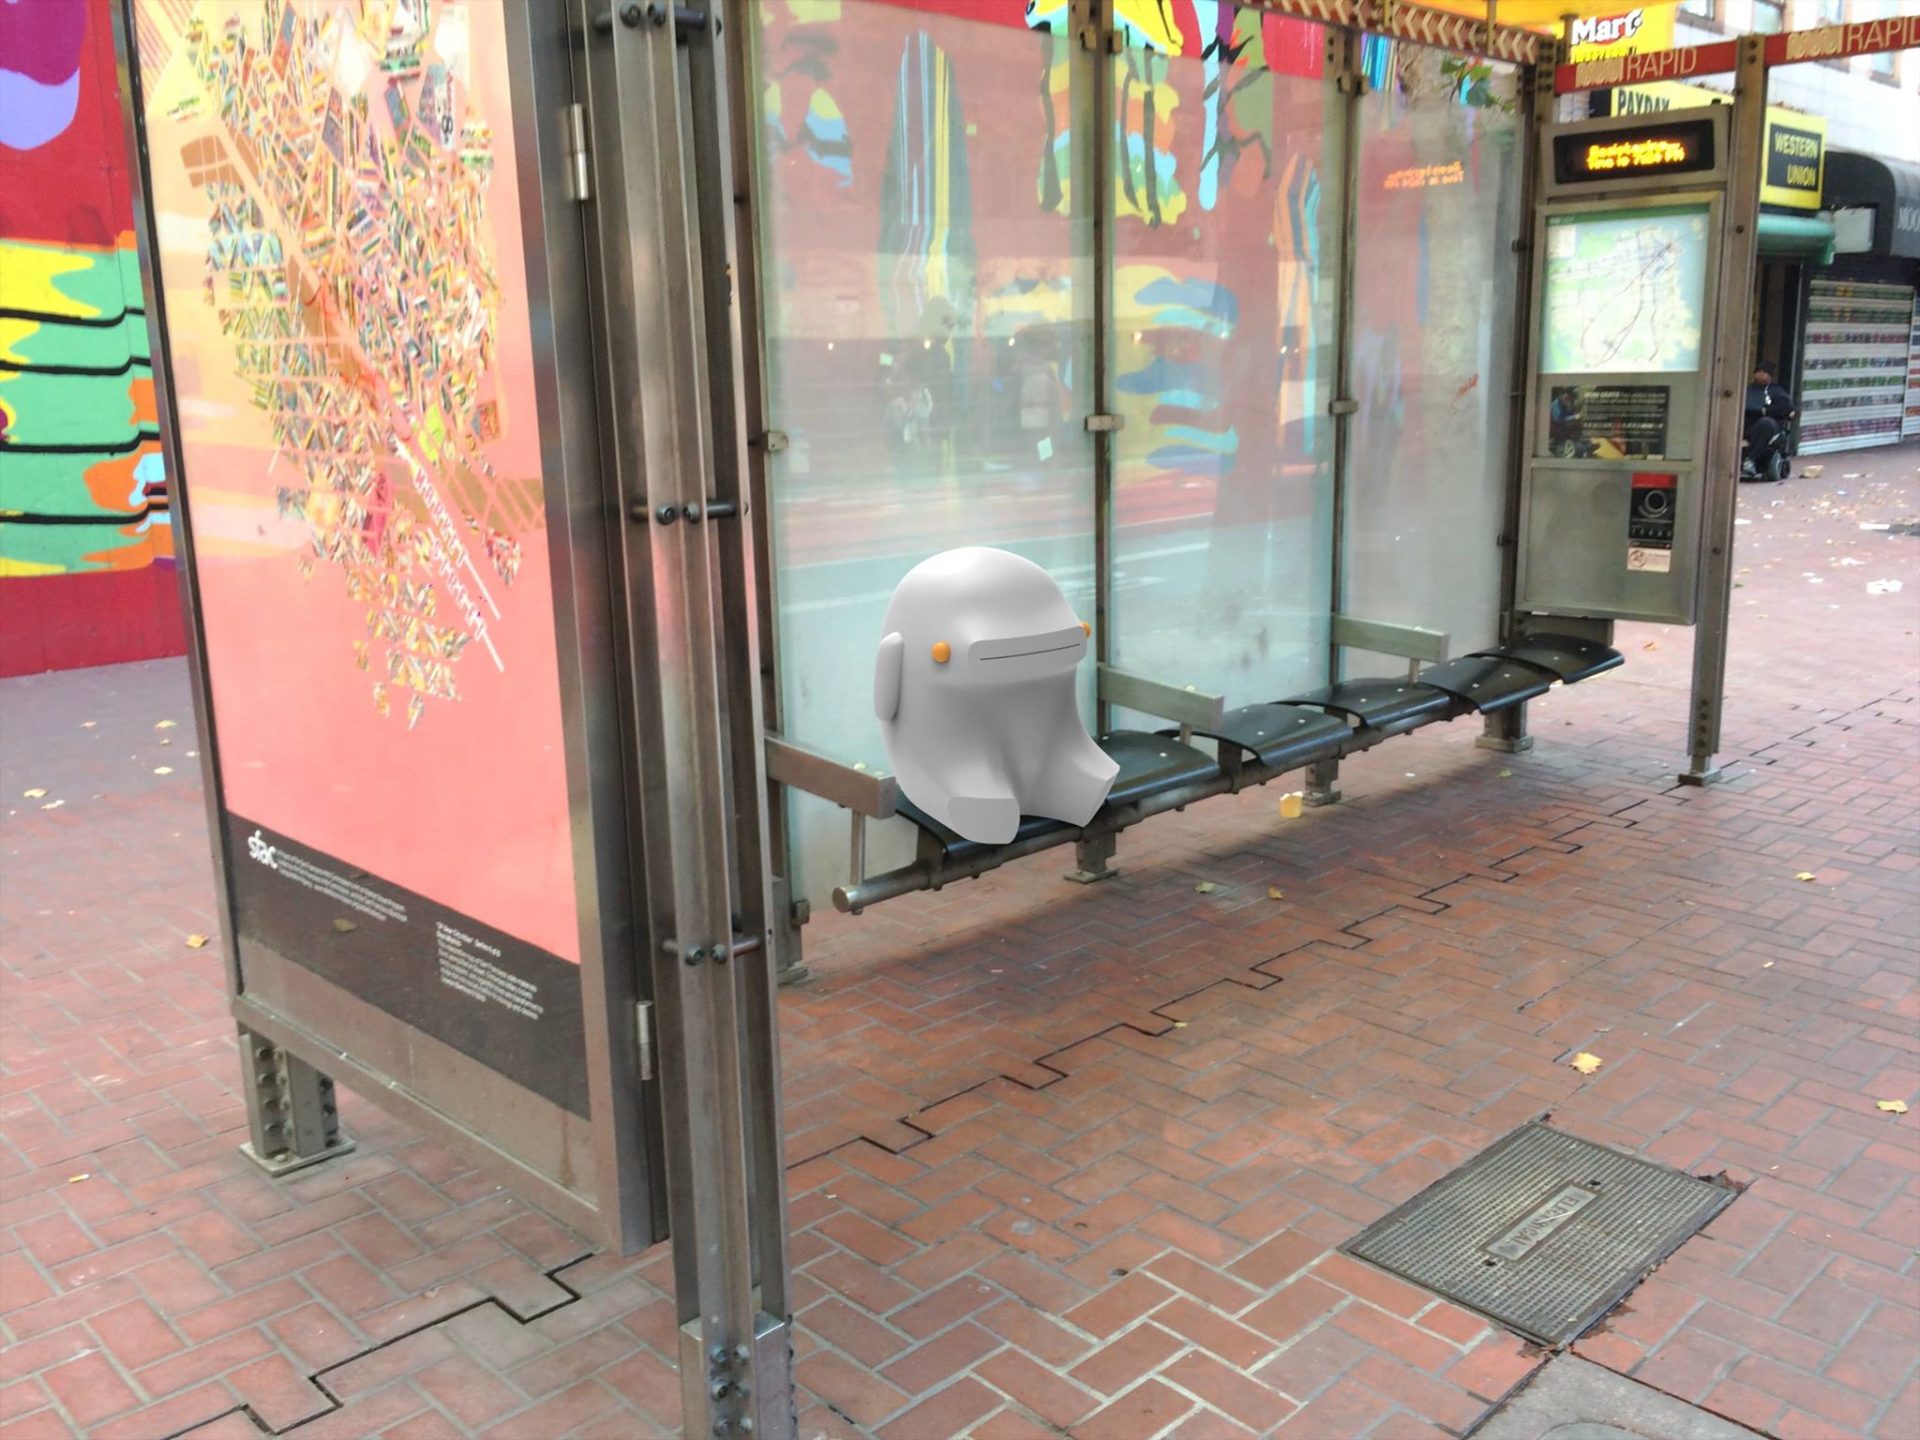
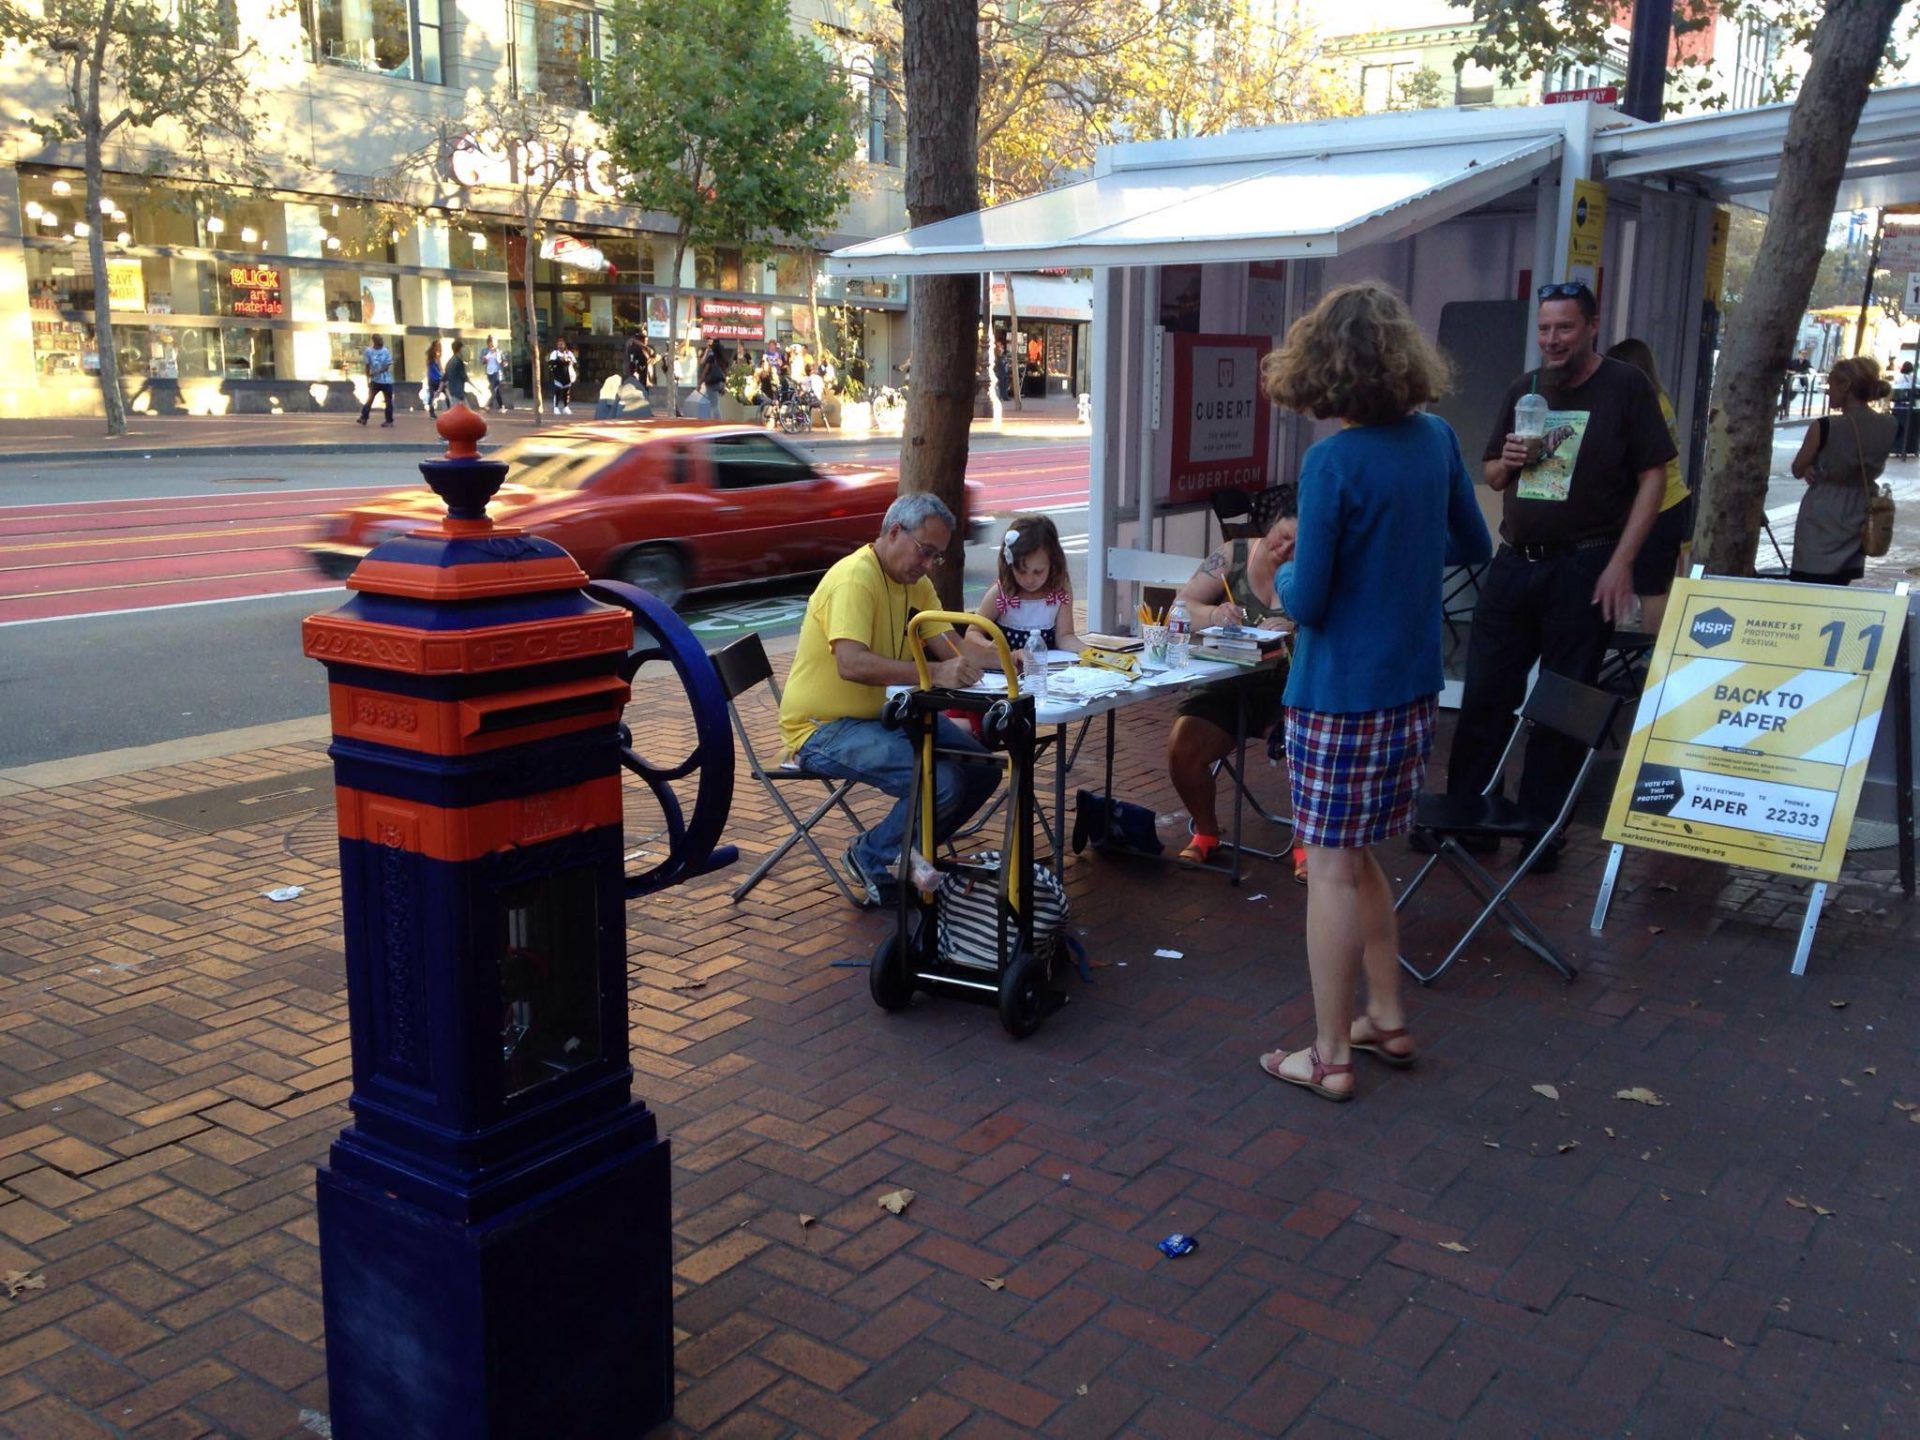
Art for the people by the people of San Francisco. Back to Paper is a paper dispenser of cultural content.
Step 1: Collecting the Content

ESTABLISH CONTENT GUIDELINES: non violent, non sexual, family friendly, created within the community, original content
PARTNER WITH LOCAL ORGANIZATIONS: map all the existing organizations that are rooted in the area and ask if they would like to partner with the project, either through organizing a collection event or through a call out to its members, get in touch via email, in person meetings or through events organized by those organizations, prepare flyers to give away as well as a website for the people you talk to to have more details about the project
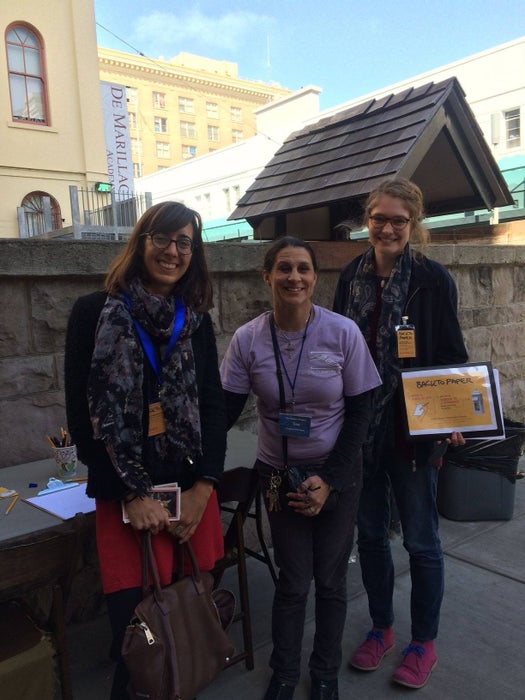
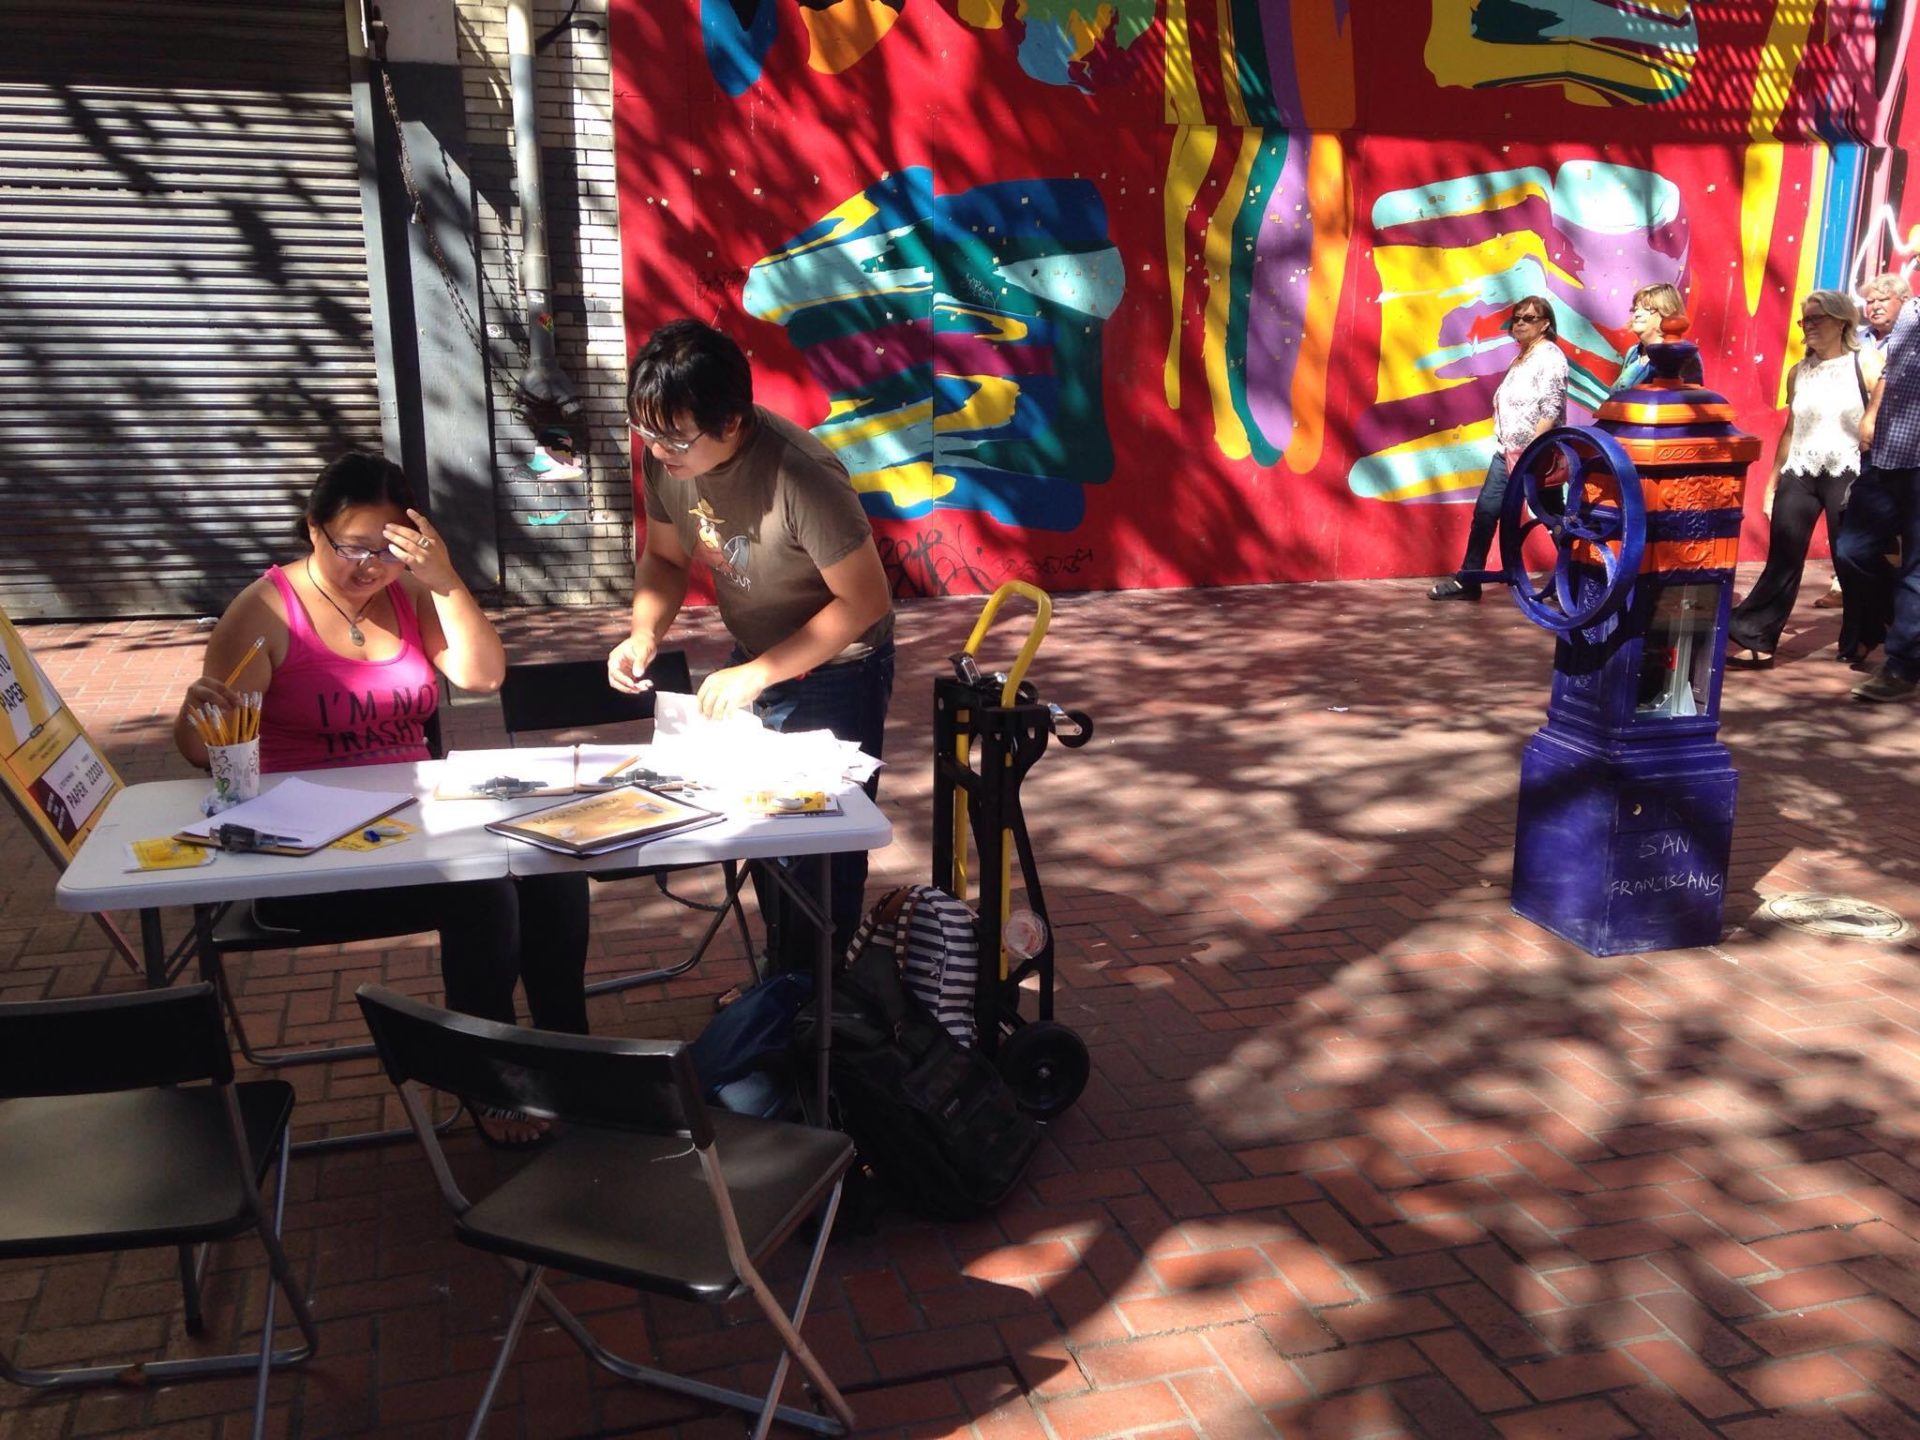
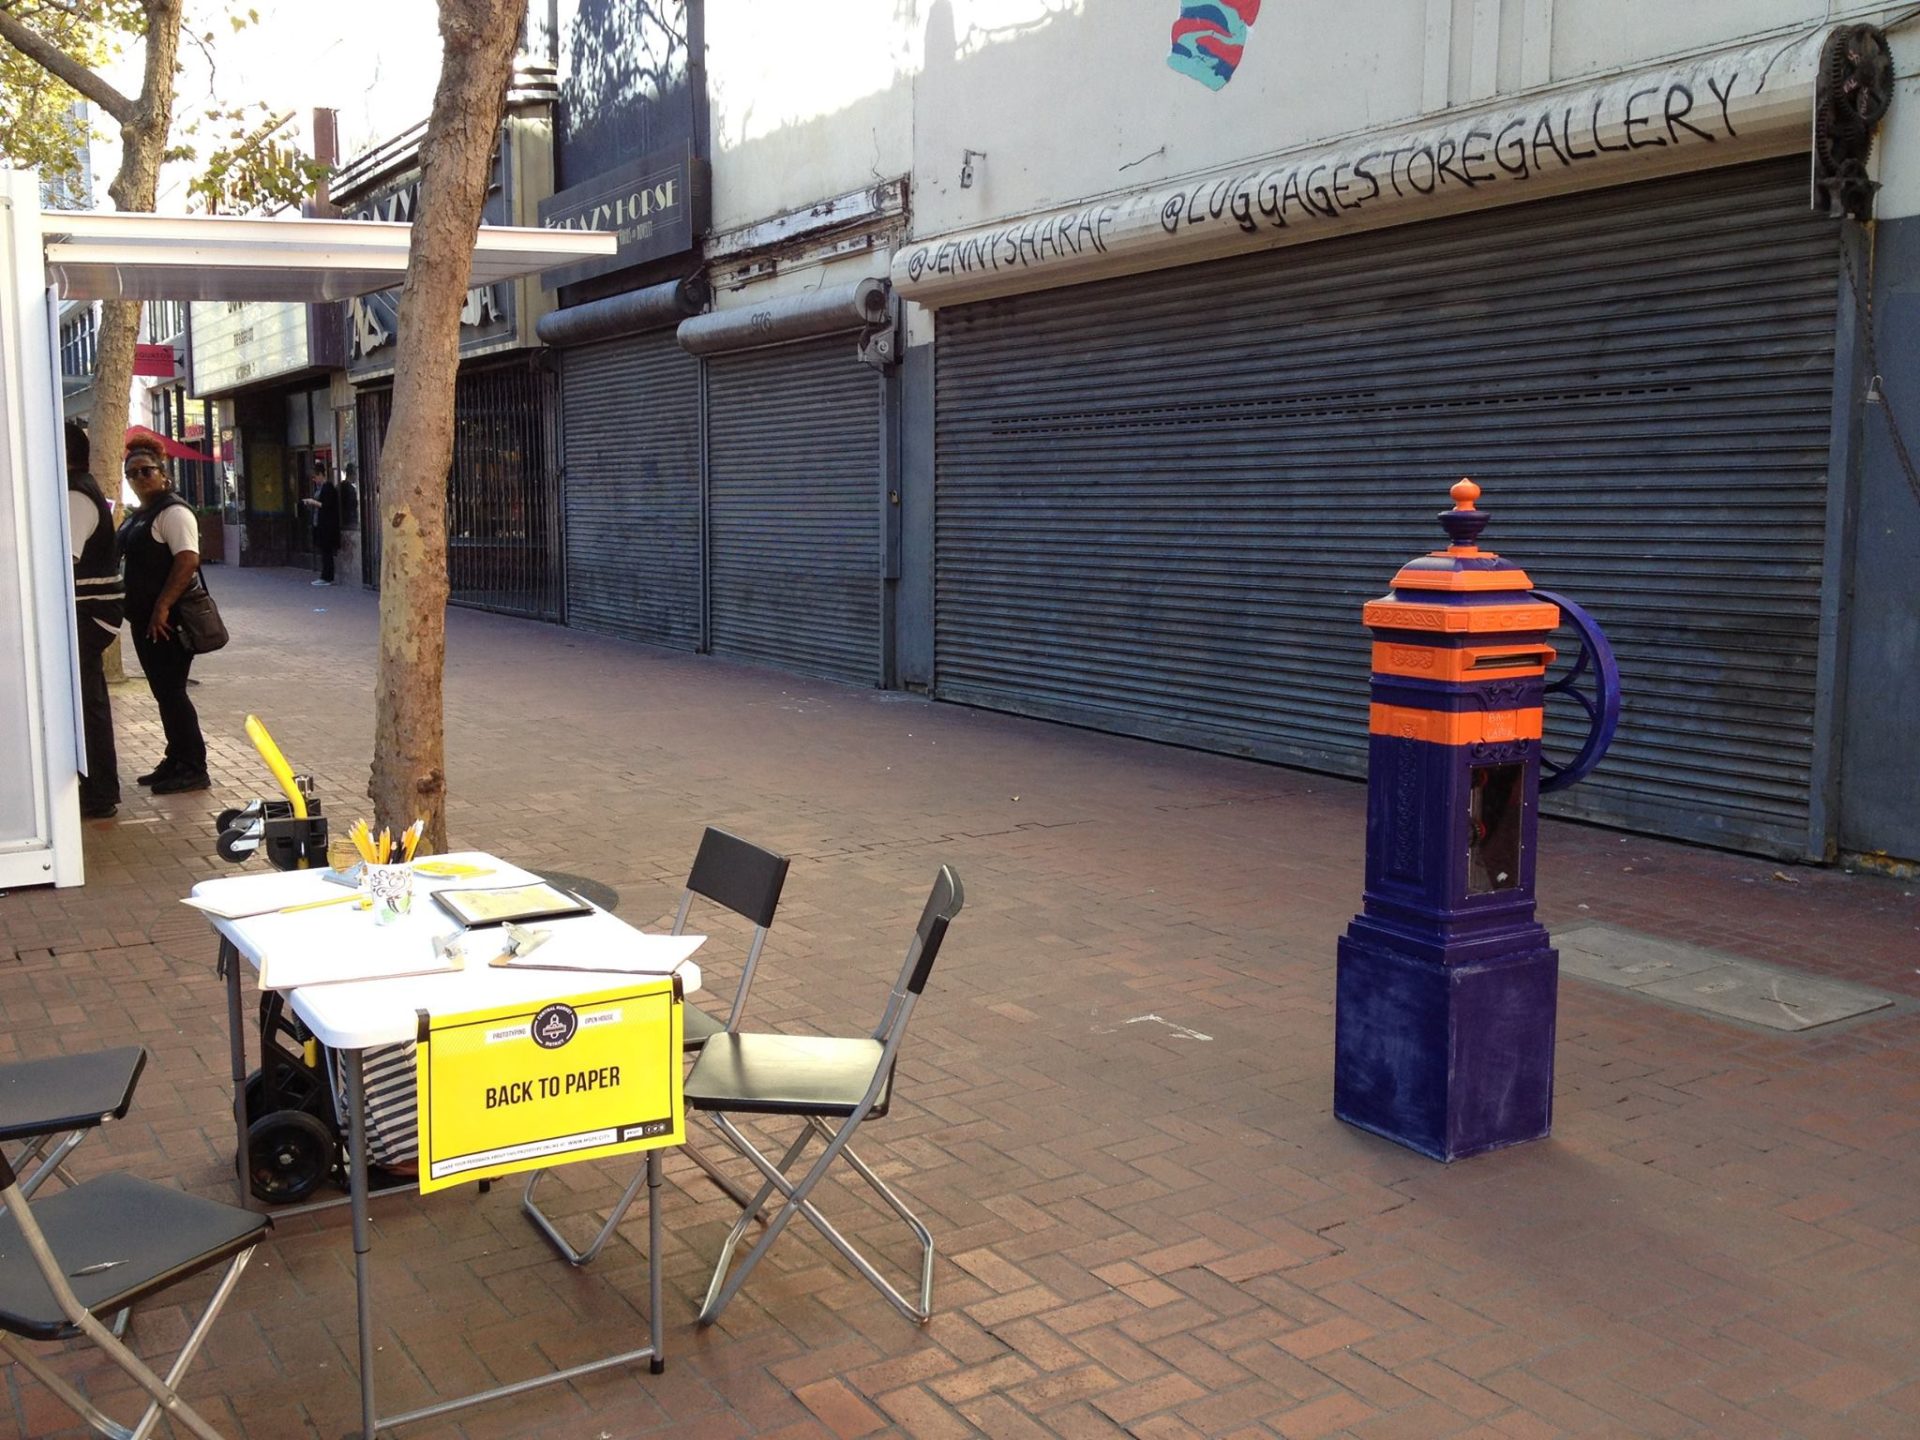
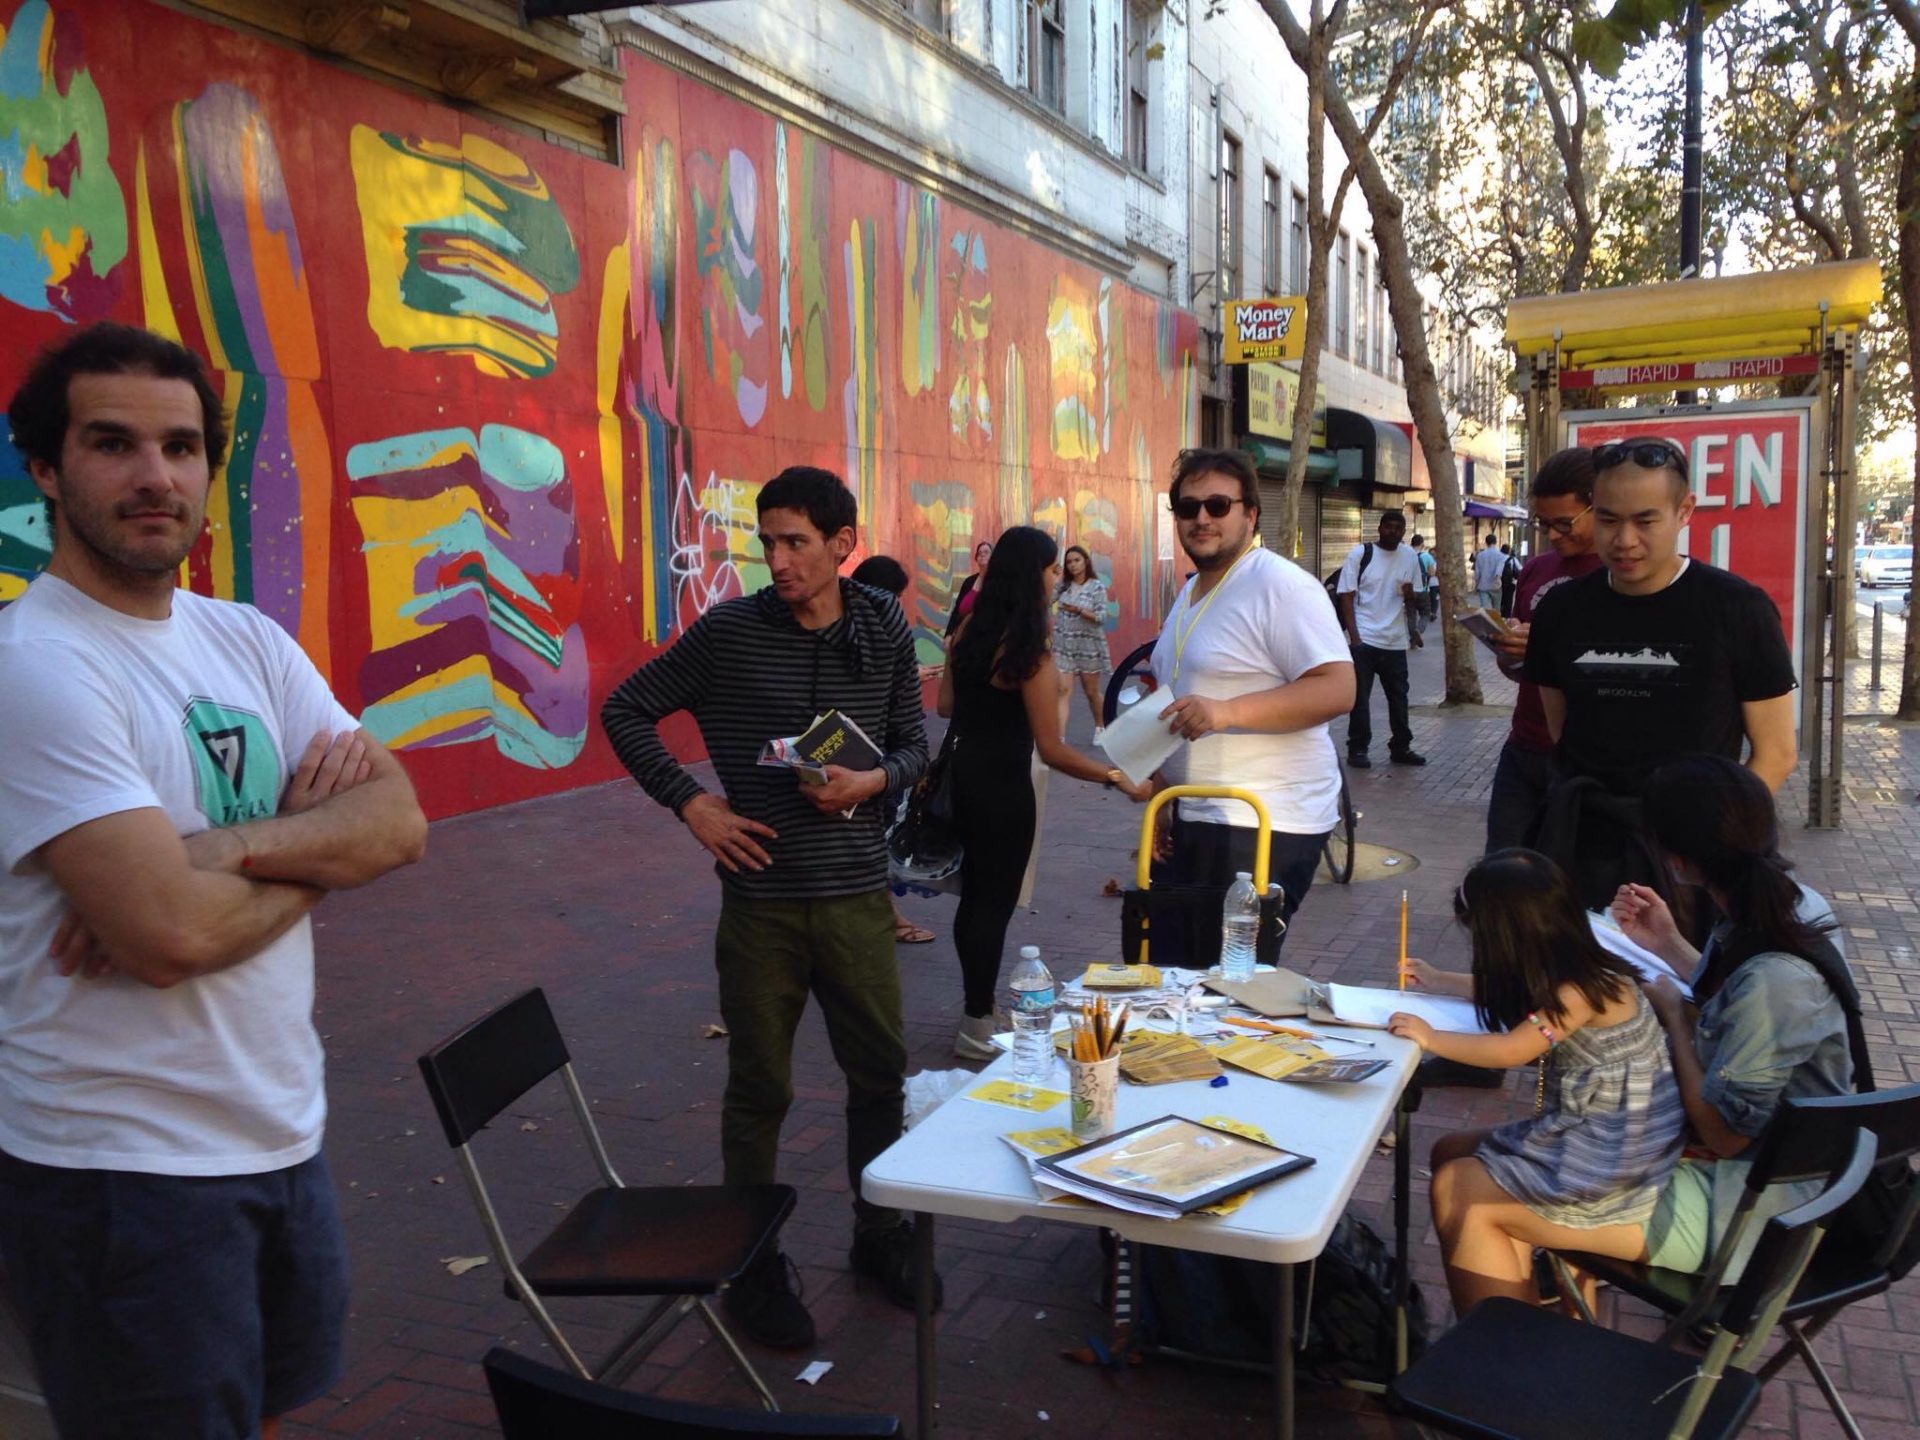
BUILD A COLLECTION PROCESS: build an uploading page on the website to collect the content, organize art stands with the associations (1 table, 4 chairs, 2 volunteers with badges, pencils, erasers, pens, paper with release forms on the back, clipboards => keep it light) and later scan all the stories and drawings onto the wbesite database
Step 2: Design the Box
image
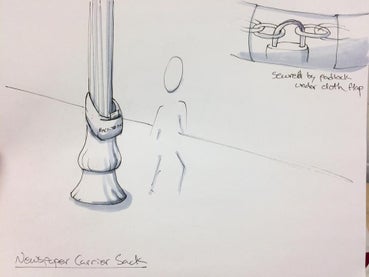
image-1
FB4WHP2IU7GVXSA
FHHRR2QIU7GVXRU

FZ72BPAIU7GVXSB
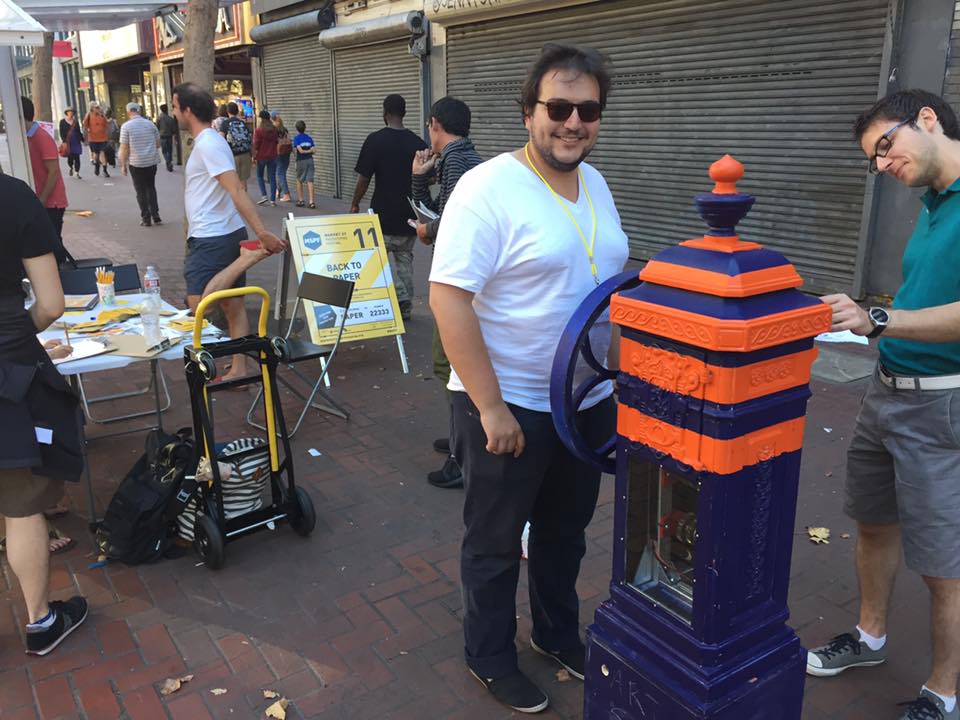
- list the criteria for your box
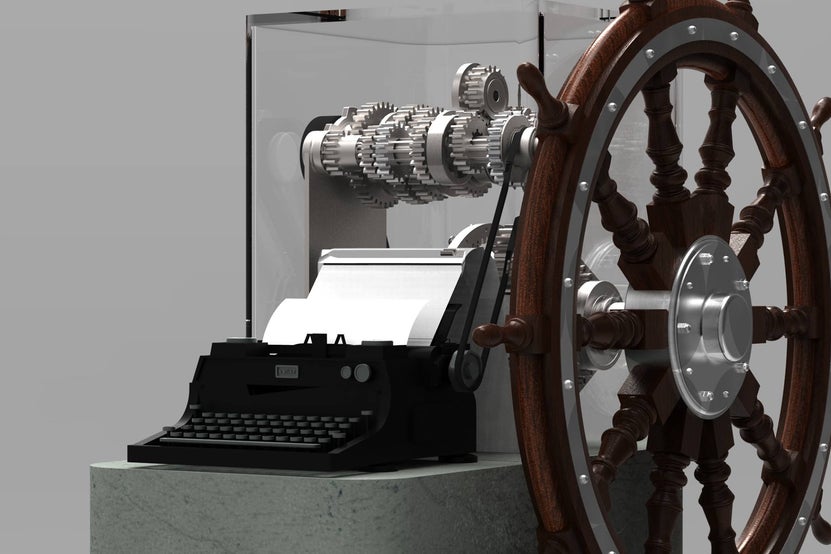
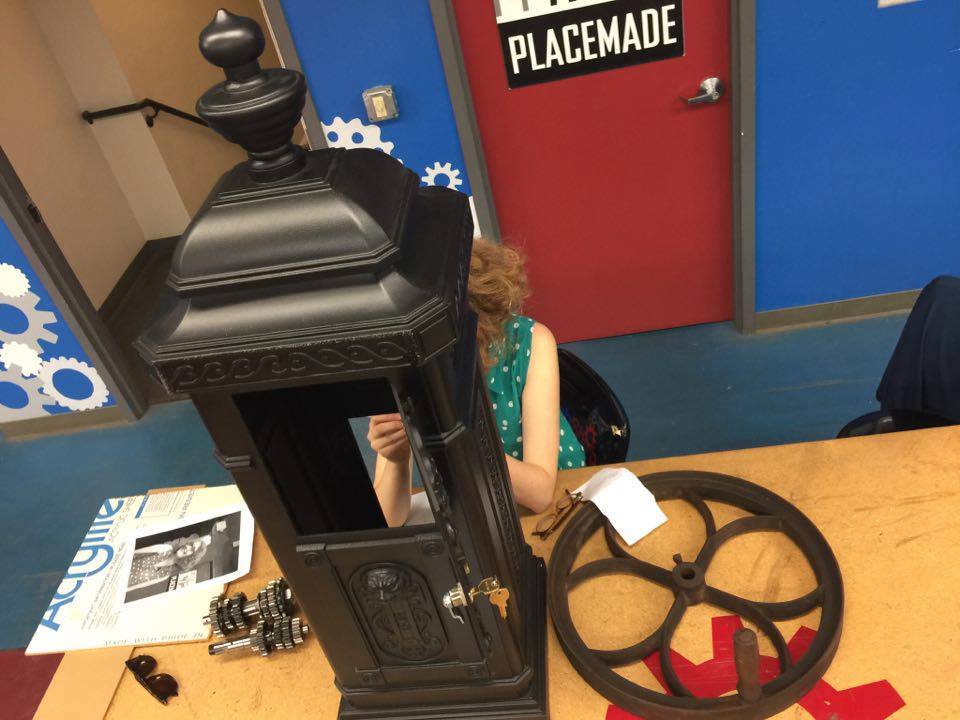
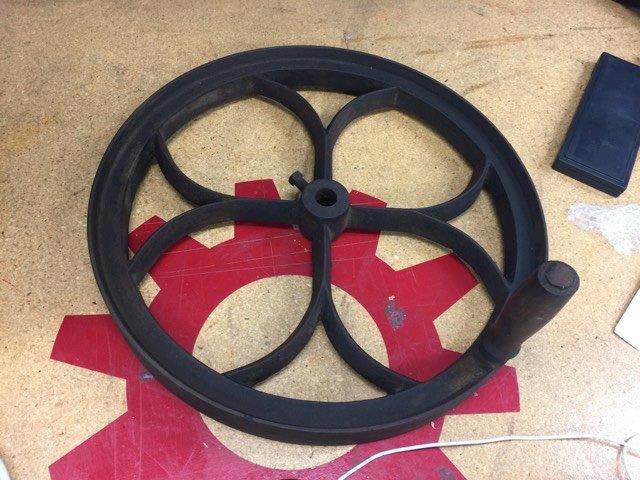
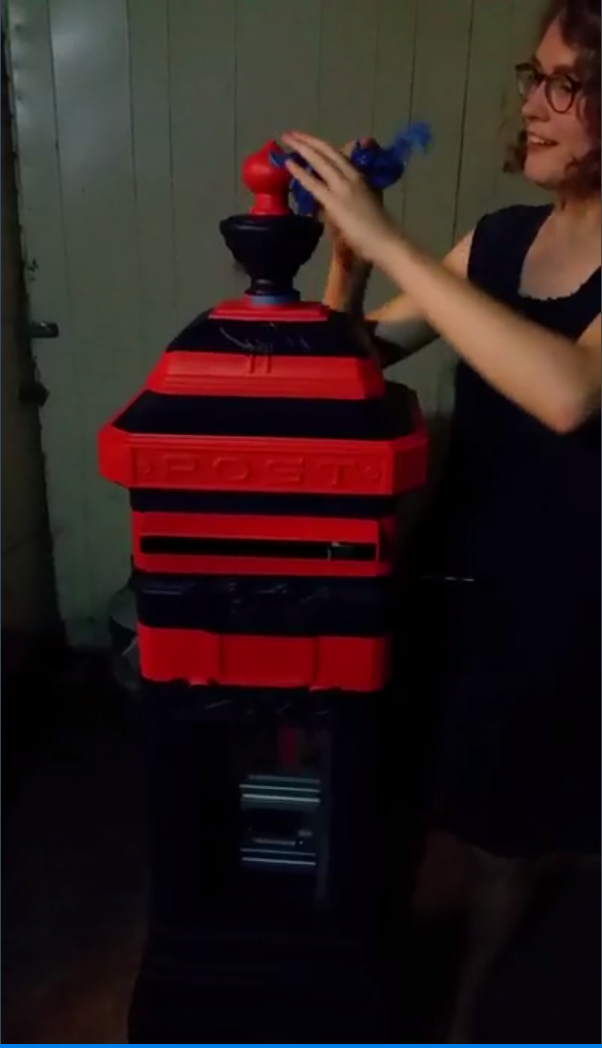
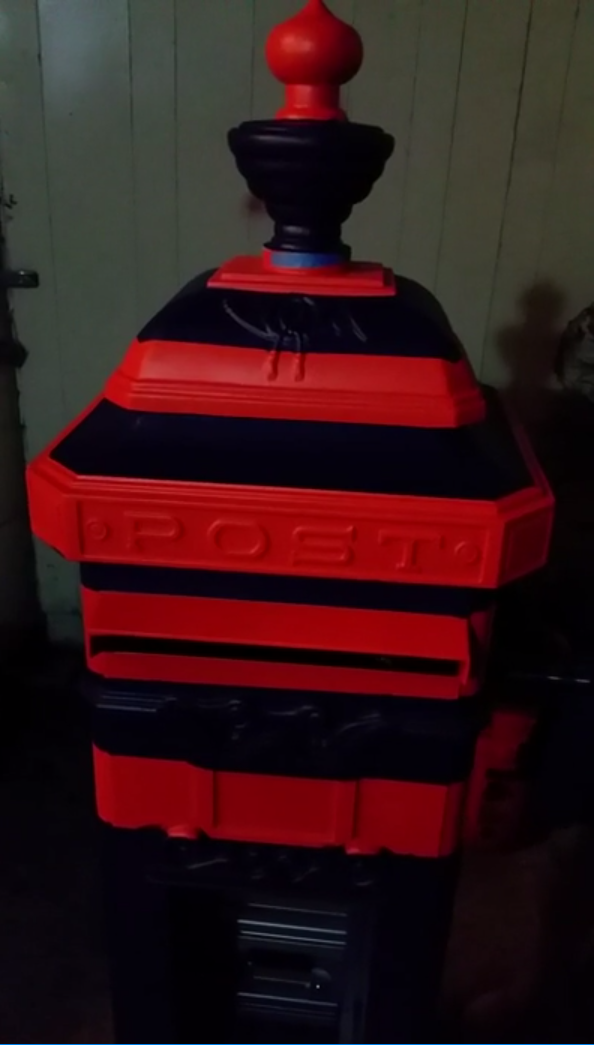
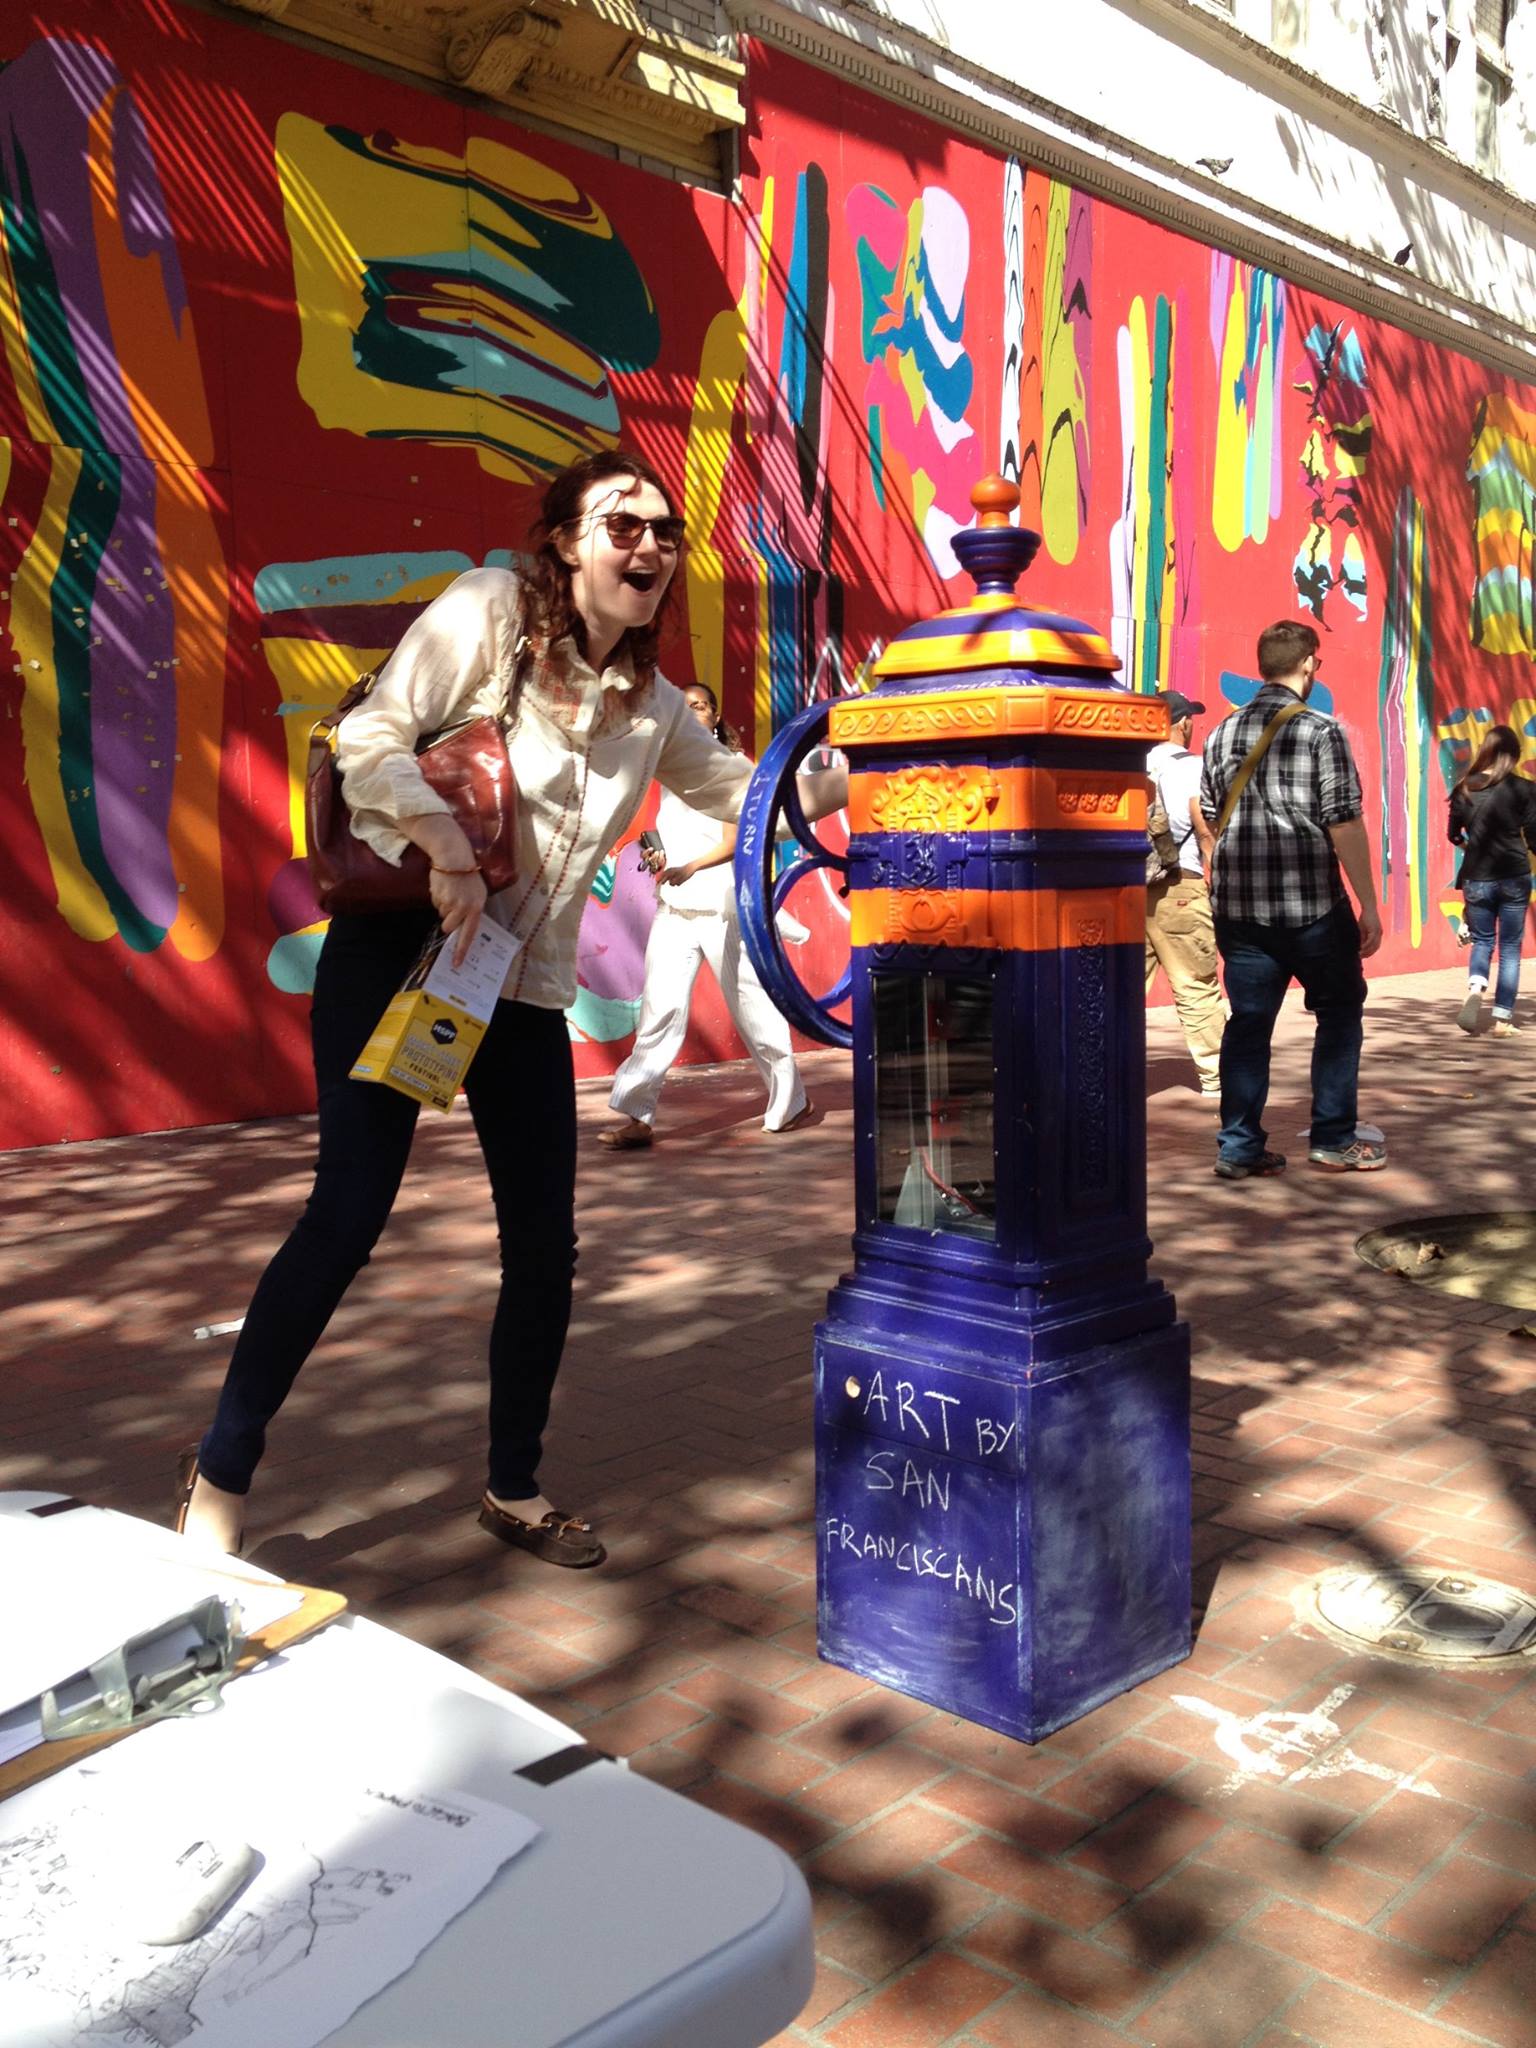
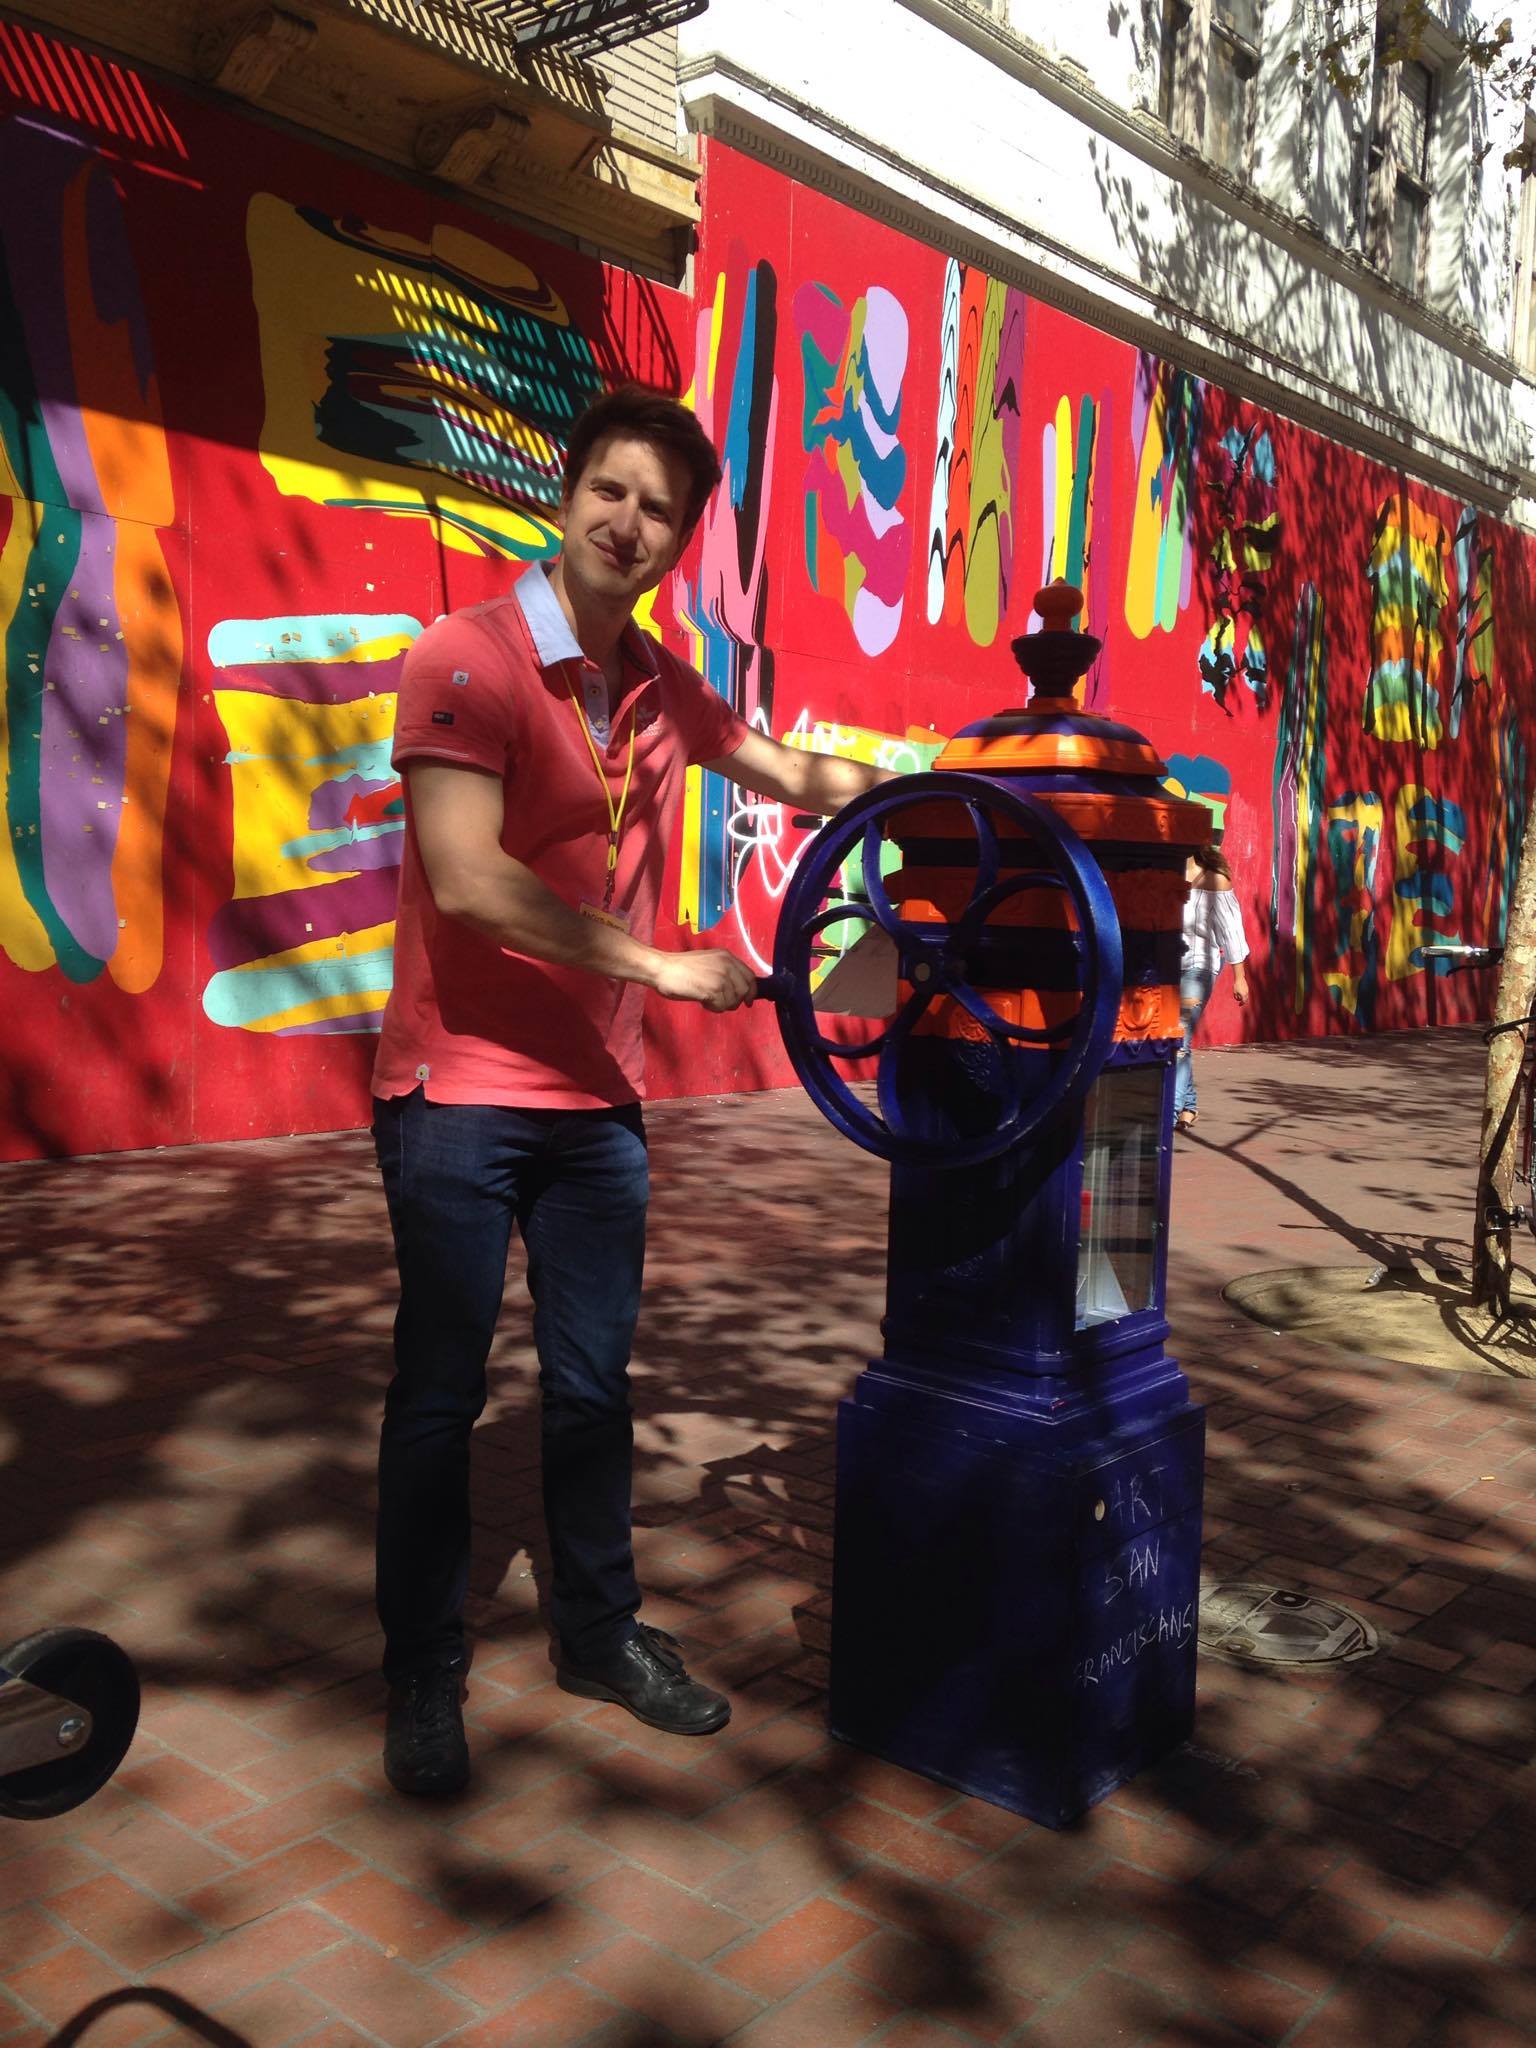
- the type of interaction you wish to have: we wanted something playful, hence the massive wheel and the visible gears
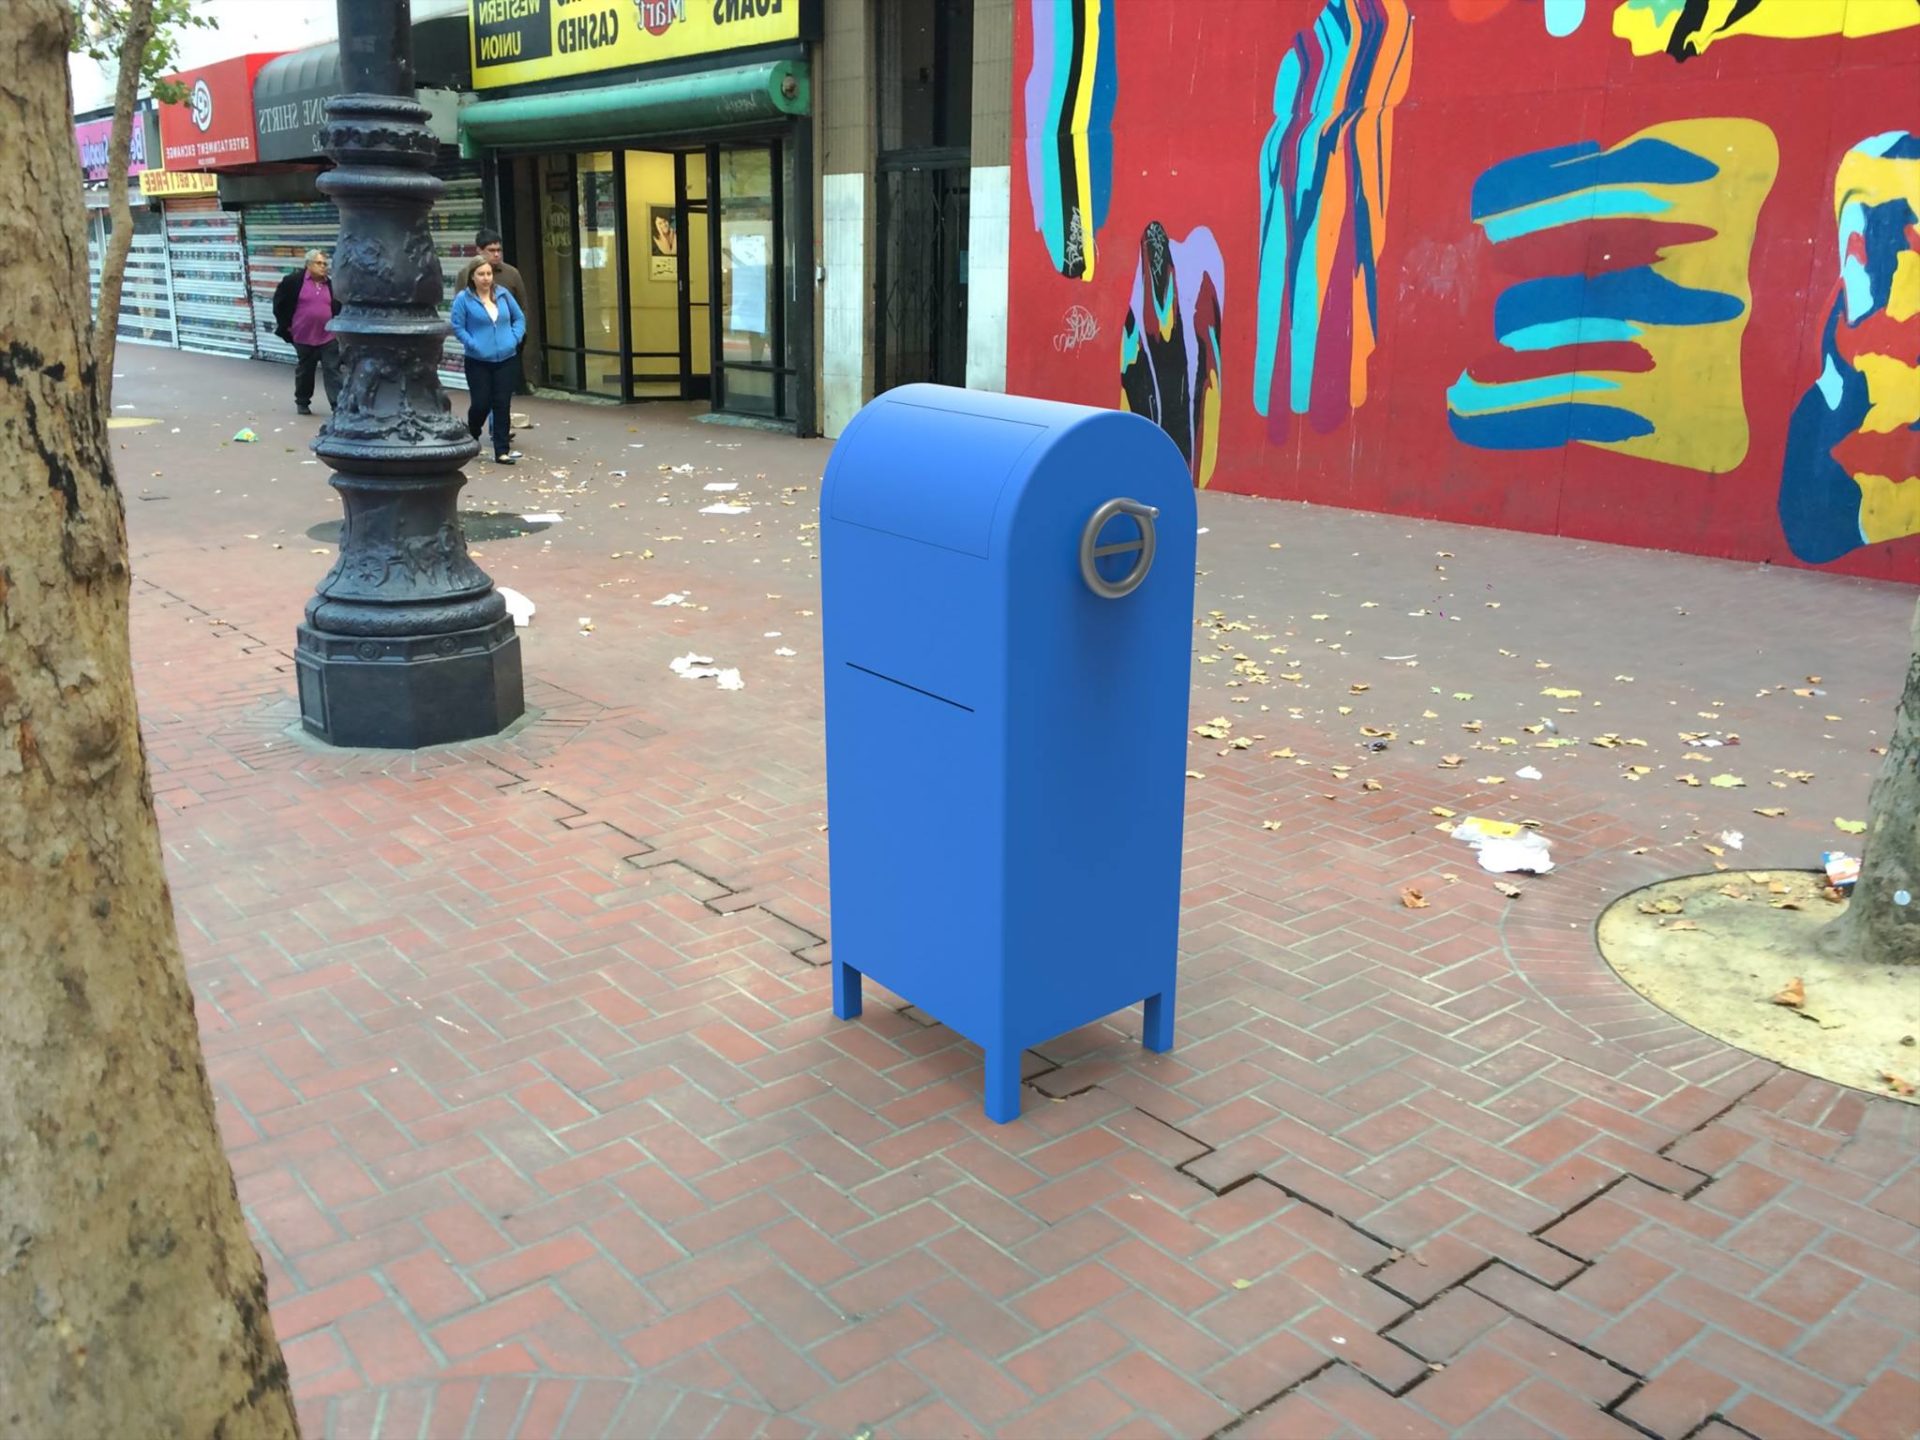
- the kind of visual cue you want to give: we wanted it to be recognizable in the city landscape, hence the victorian mailbox, while being able to catch the eye of passbuys, hence the flashy stripes
- designe a few ideas, make renders and submit it to users feedback so you get the points that really stick out and rethink your design criteria (see images from the Open House at the Strand Theatre organized by the Market Street Prototyping Festival)
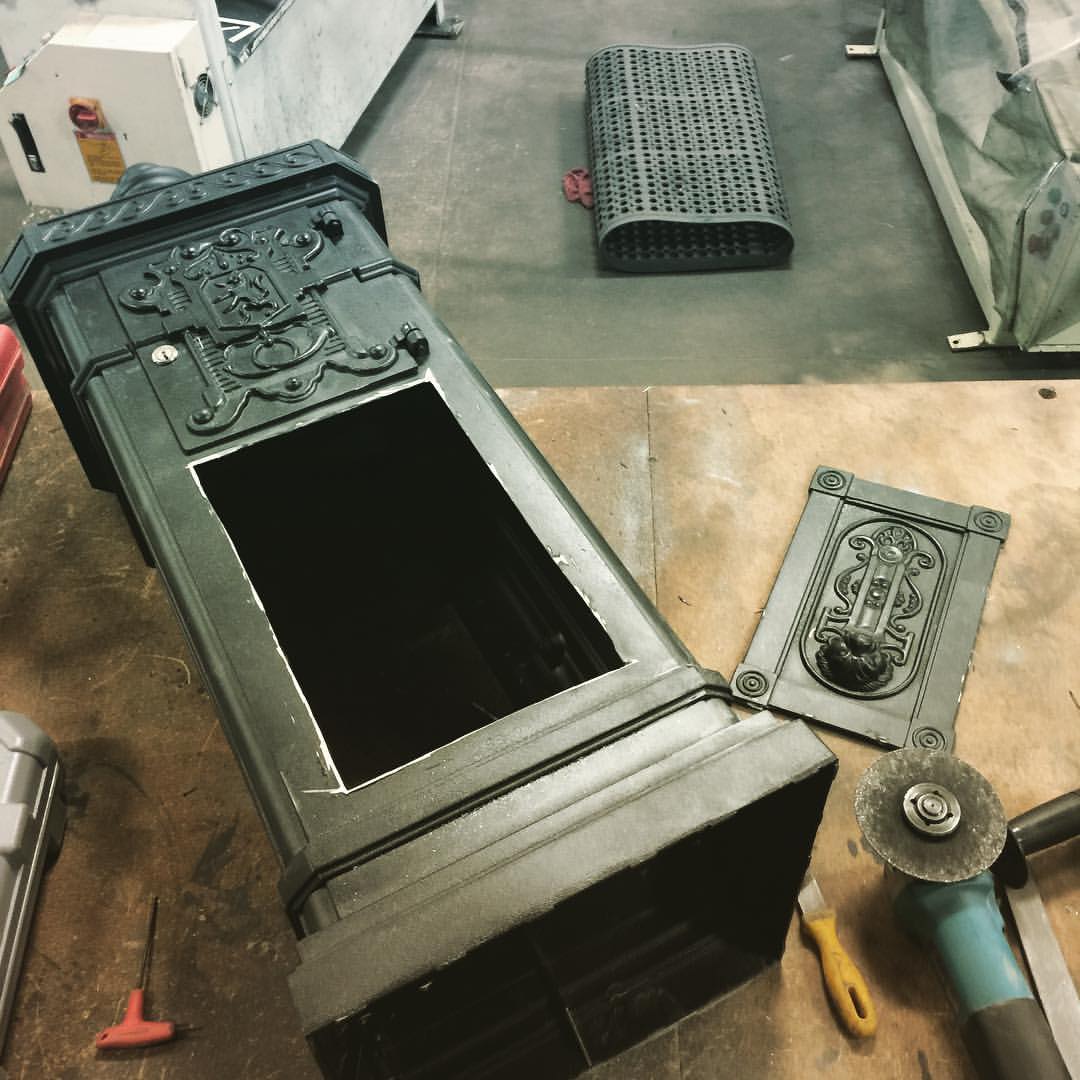
Step 3: Making the Box
F89ZQ0YIU7GW24H
F967F2VIU7GVV7L
F6SVYDKIU7GVV7N

FD2E76QIU7GVV7P

FNJI4GIIU7GVV76
FHSIEJ3IU7GVV5B
F3C7WCCIU7GVV5E
F23LRJQIU7GVV5F
FLLKNU8IU7GVV5M
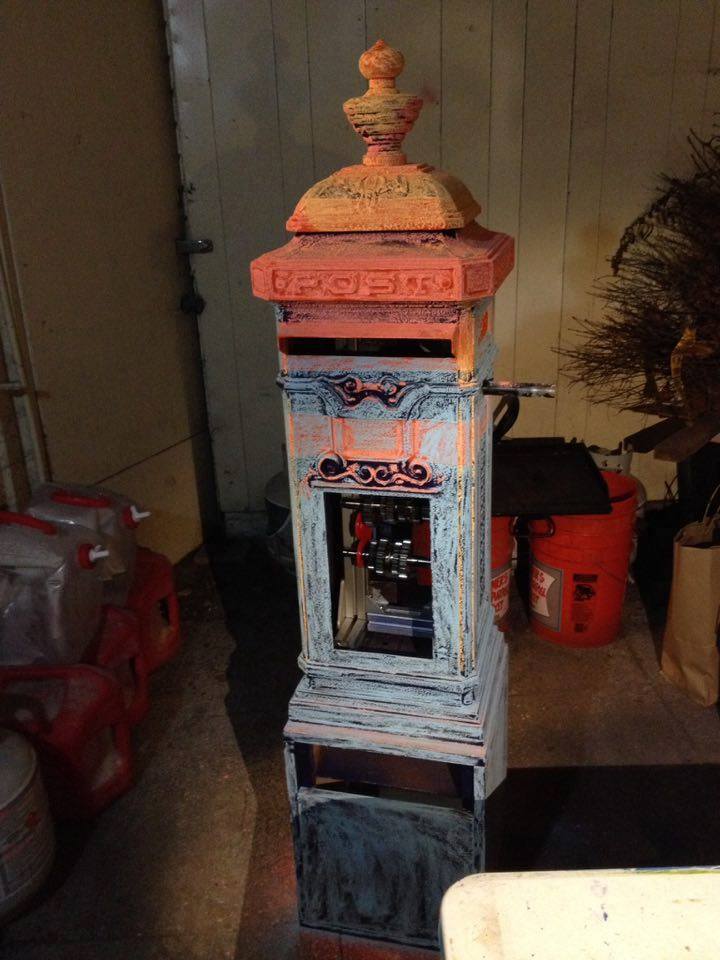
- gather the elements to make the box: a Victorian mailbox, a coffee griding wheel, an axis, bearings, metal bars, gears, acrylic, a wooden base, a thermal printer, a mini mini computer, a battery, rolls of paper, an arduino
- spend a lot of time at TechShop to:
- create the structure to support the wheel: assemble after cutting the metal bars inside the box, make a whole on the side of the size of the axis, add the bearings and have the wheel axis go through, add the gears, put the wheel on
- create a button that will be hit at each rotation of the wheel and wire it to the arduino
- create the base: make a wooden box, make a door (that’s where you will add all the cables, the computer and the battery), drill wholes on top to have the cables go through from the mail box, assemble with long screws to the mail box, fill the bottom with sand if you want to make sure it wont fall over
- create the windows: make 2 openings on the 2 sides to create the windows on both sides of the mailbox, laser cut the acrylic sheets with wholes for the screws, drill wholes on the sides of the mailbox, assemble
- spend a lot of time in your backyard to:
- spraypaint a primer all over the box, the base and the wheel
- spraypaint the 2 layers of orange paint, the 2 layers of dark blue paint
- cover the box with chalk to finish the conditioning of the box
- now you can start writing instructions with chalk on the box to AB test UX on the day of the festival
- spend a lot of time at home to:
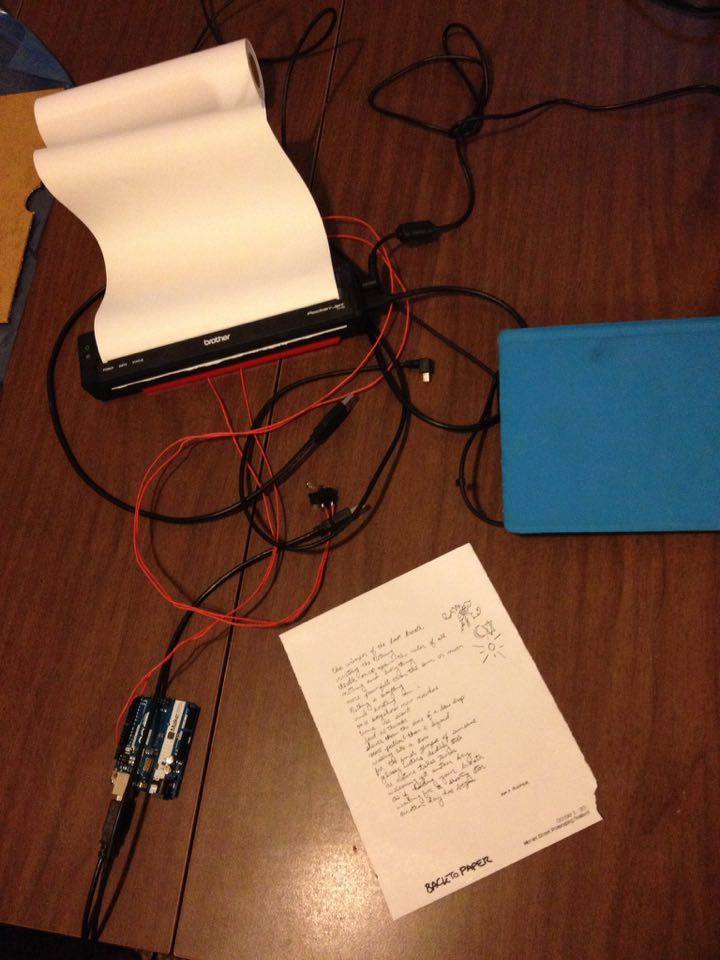
- code the whole thing so that the printer properly receives the message from the arduino asking it to print a random piece from the database of drawings and stories stored on the mini computer
- place it in the box and test with the motion of the wheel
Step 4: Festival Days
F7V2ASYIU7GVVFA
F11WY10IU7GVVFE
FF1KACFIU7GVV62
FLRPKGWIU7GVVFU
FARIEKCIU7GW2AB
FO2HDCMIU7GVV63
FW3KF4WIU7GVVFW
FHF3ZD0IU7GW2YJ
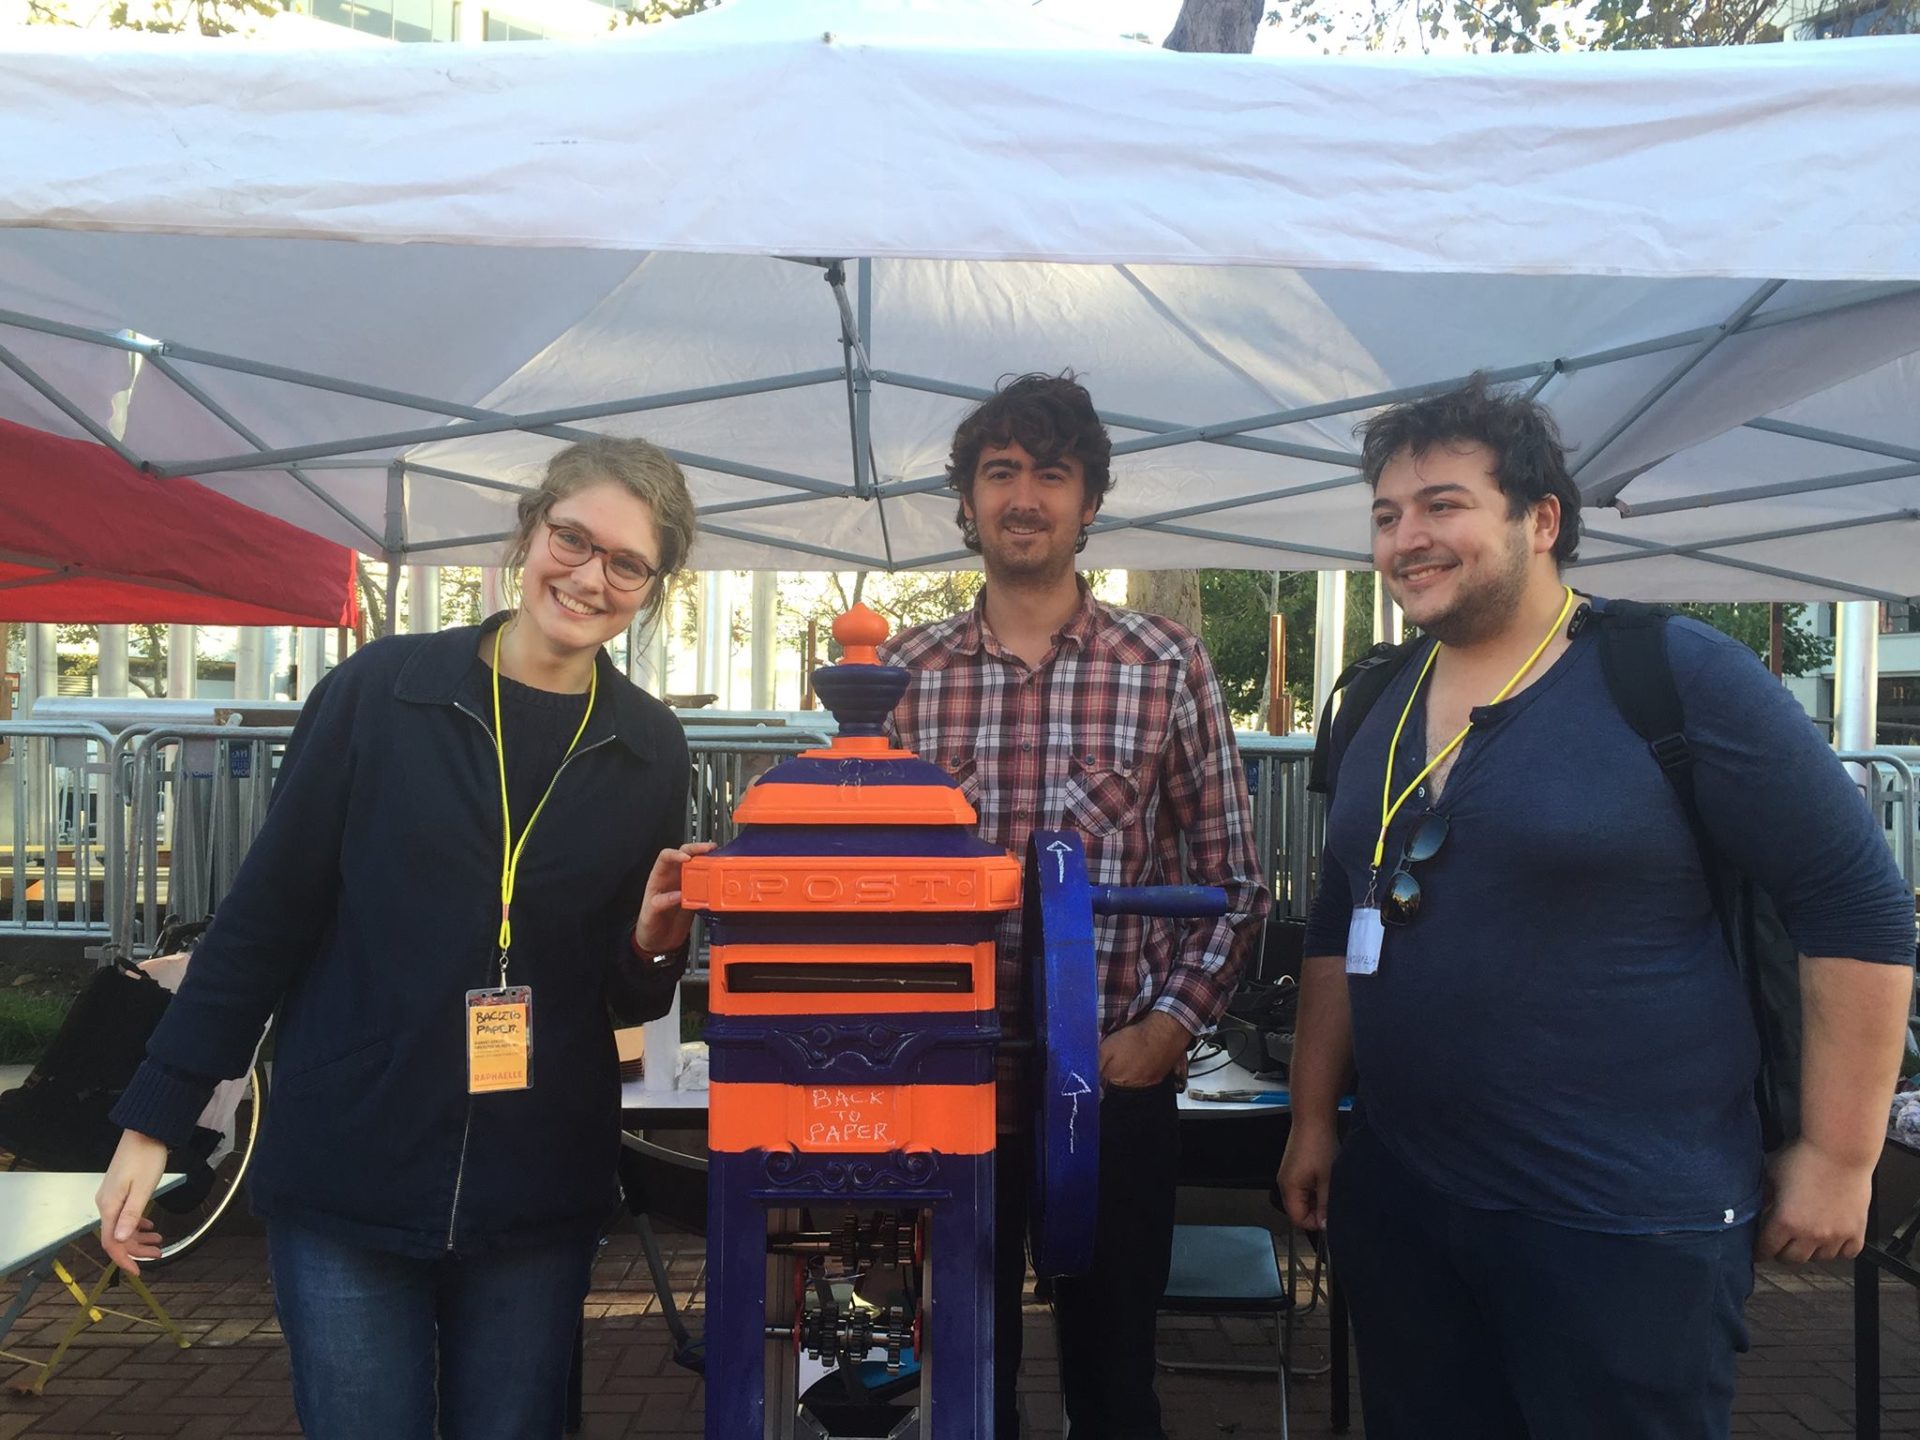
Keep testing the prototype, gather feedback by talking to the users and observing their reactions and through photos/videos and troubleshoot! And of course enjoy these precious moments spent interacting with fellow San Franciscans, sharing about art and sharing stories.
More information here:
- Instructable: https://www.instructables.com/MSPF-Back-to-Paper/?fbclid=IwAR3N528OvOWGhMyqUqihNx66wZDPVTNTIYqyPIcJe24Hp_d6OuwKkRPypQY#discuss
- Facebook page: https://www.facebook.com/backtopaper/
- Market Street prototyping festival: http://marketstreetprototyping.org/2016-festival/projects/back-to-paper/